
Stripe, a renowned global payment service provider, facilitates transactions for various payment methods, including credit cards and digital wallets. As an online merchant if you plan to get payments from your customers without any problem then Stripe is the most trusted gateway. And the best part is that you can use WordPress or Woocommerce as your trusted website and online shop builder.
WordPress Stripe integration is easy and you can easily do it without any additional technical knowledge. This comprehensive guide about integrating WordPress and Stripe will walk you through the process.
What Is Payment Gateway And How It Works?
A payment gateway functions as the digital version of a POS terminal, facilitating the initial steps of an online card transaction.
Operating as a technical bridge, the gateway links you to your acquirer, who then routes the transaction to the issuer through card networks such as Mastercard or Visa. The issuer assesses the transaction, either approving or rejecting it, and relays this decision to both you and the customer through the payment gateway.

Here’s how it works in practice:
- During checkout, customers input their card details on a secure payment page, either hosted entirely by the payment gateway or with encrypted fields for secure data transfer.
- The gateway encrypts the card information, conducts fraud checks, and forwards the cardholder’s data and transaction specifics to the merchant’s acquirer.
- The acquirer transmits this data to the card scheme and then to the issuing bank, where further fraud checks are performed, ultimately resulting in either approval or rejection of the payment.
- The authorization decision is relayed back to the payment gateway, which promptly notifies both the customer and the merchant about the outcome of the payment.
- Depending on the bank’s decision, the payment page will confirm the successful transaction or prompt the customer to try an alternative payment method if the transaction is declined.
Although the payment process occurs rapidly, involving several parties can increase the likelihood of payment failures compared to more direct payment methods like open banking payments.
Introduction To Stripe
Stripe serves as an efficient and secure online payment processor and gateway. It allows customers to make purchases with confidence by securely processing their payments, notifying them of transaction results, and facilitating the seamless transfer of funds to the respective businesses.

In terms of payment acceptance, Stripe supports:
- You can make payments using credit and debit cards, including Mastercard, Visa, American Express, JCB, Discover China UnionPay and Diners Club.
- Stripe also accepts ACH payments.
- Furthermore, you have the option to use wallets such, as Google Pay and Apple Pay.
- Stripe is compatible with wallets and buy now pay later services as well. It’s worth mentioning that Stripe can handle transactions, in currencies too.
For in-person transactions, Stripe offers a POS system called Stripe Terminal. In addition to its main payment processing function, Stripe provides various supplementary services such as billing, invoicing, and automated sales tax management.
Creating a Stripe account is free, and there are no monthly or annual charges. Instead, Stripe applies fees per transaction. For online sales, there is a fee of 2.9% plus an additional 30 cents per transaction. If you’re dealing with international or currency conversion transactions, there’s an extra 1% fee.
Introduction To WordPress
WordPress is a platform that allows you to create websites and the best part is that it’s open source. It functions as a CMS written in PHP and uses the MySQL database. In terms of usability, it’s a user friendly and powerful tool for building websites and blogs.

The great thing about WordPress is its versatility. It can be used for a range of websites whether you’re looking to start a blog run a store or showcase your business or portfolio. With its flexibility and ease of use WordPress is suitable, for both small scale projects and larger more complicated websites.
All you need is:
- A web hosting service
- A name for the Domain
- The installation of WordPress software on your website (which is typically managed by most web hosts)
Alternatively, if you prefer the hosted version, WordPress.com, you can simply create an account on the platform to get started hassle-free.
WordPress Stripe Integration – Why It Is Useful And Essential?

If you run an eCommerce store or a donation-based blog, having a reliable payment gateway for WordPress is essential. It allows you to accept payments for your products or receive donations. Stripe is a standout option among various choices because of its user-friendly interface, secure transactions, and ability to support multiple currencies.
To ensure a seamless payment experience and prevent potential customers from leaving your website, it’s crucial to integrate Stripe directly into your WordPress site. This eliminates the need for redirecting visitors to another payment platform and helps capture every opportunity.
Additionally, a streamlined checkout process is pivotal as a complex one can deter potential customers. By seamlessly integrating Stripe with WordPress, you can ensure that visitors can swiftly and conveniently complete their transactions. This is particularly crucial considering that 18% of all the users leave a complicated checkout experience.
Before You Begin – Important Prerequisites
To smoothly integrate Stripe with your WordPress platform, ensure you’ve completed the following prerequisites:
- Activated Stripe Account.
- Activated WordPress account.
- Ensure that the Shortcode API is supported on your WordPress site.
These prerequisites will streamline the process of seamlessly integrating Stripe with your WordPress website.
Integrating WordPress And Stripe Using WooCommerce
When it comes to incorporating Stripe into WordPress many people opt to utilize it alongside WooCommerce, an e commerce plugin that’s available for free. By combining WordPress with WooCommerce you’ll have access, to a vibrant community of developers and enthusiasts who are constantly contributing and improving the platform.
Here’s a simple process to get you started:
Step 1: Installation
Begin by installing the free WooCommerce’s Stripe Gateway plugin. You can find and download this plugin from the WordPress repository or directly from your WordPress dashboard under the “Add New” plugins section.

Step 2: Configure WooCommerce Settings
To enable the Stripe payment option in WooCommerce, first go to your WordPress dashboard. From there, navigate to the WooCommerce Settings and click on the “Checkout” tab. In this section, you’ll find the option to enable Stripe payments. To complete the setup, you’ll need to input your Stripe API keys, which can be obtained from your Stripe account dashboard.
You also have the option to enable “Stripe Checkout,” which presents a convenient pay button and a modal credit card form during checkout, replacing the traditional credit card fields. Once configured, scroll down and click “Save Changes.”
Step 3: Enable Secure Checkout
Then go to the “Checkout Options” under the Checkout tab. Ensure that the “Force secure checkout” option is enabled. It’s important to understand that Stripe mandates SSL to securely process credit card transactions on your WordPress site. Once you’ve made the necessary changes, don’t forget to click on “Save Changes.”
That’s it! Your WooCommerce checkout pages are now equipped to securely process credit card payments through Stripe.
Integrating WordPress And Stripe Using WPSimple Pay
WPSimple Pay is an efficient payments plugin designed to facilitate easy acceptance of both one-time and recurring Stripe payments directly on your WordPress site. The plugin eliminates the need to set up a comprehensive WooCommerce store or integrate a complex shopping cart system.
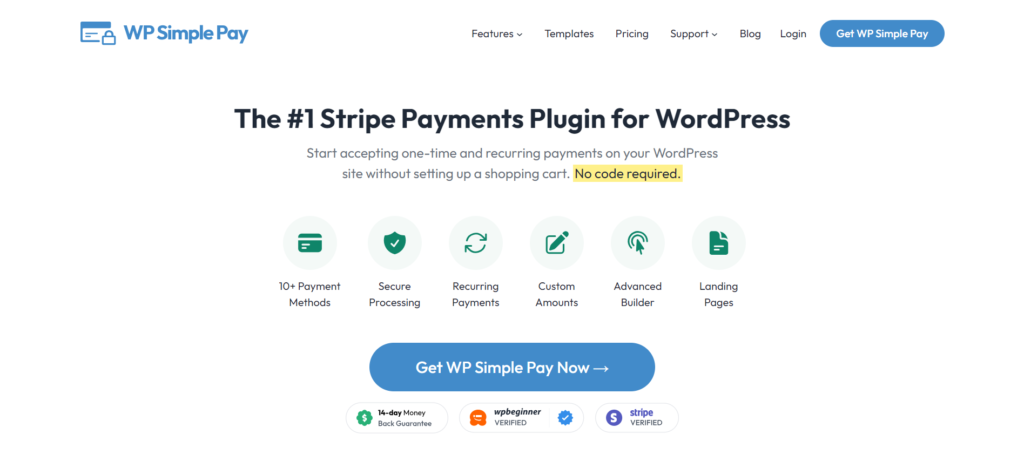
With WPSimple Pay, integrating your website with Stripe’s payment service becomes a hassle-free process, requiring no specialized coding knowledge or the assistance of a developer. The WPSimple Pay plugin is an ideal choice if you primarily require basic features for accepting online payments via Stripe.
Step 1: Installation
To begin, download the WPSimple plugin and install it in your system. You can do this easily by accessing the WordPress store or directly searching for the plugin in the WordPress dashboard by clicking on the “Add New” option under “Plugins”.
Step 2 Configure The API Keys
Go to the settings, and input the API keys by going to Stripe. You can find them on your Stripe’s dashboard. Remember to click on “Save Changes” once you’re done.
Step 3: Set Up Default Settings
Head over to the tab name “Default Setting”, where you can name your new site, select the currency, and upgrade with many features available. Pay attention to the redirect URL for successful transaction especially if you’re keeping track of conversions, with a “regards” page. Don’t forget to save your changes after making any adjustments.
Step 4: Insert A Payment Button
Now you can easily add the payment button to any post or page on the site using a shortcode. You have the option to customize the wording of this button by going to the settings of the Plugin to fit your needs.
That’s all! You’ve successfully integrated Stripe with your WordPress. After checking the finalized version, you can make the site live.
Integrating WordPress And Stripe Using WPForms
When it comes to WordPress payment plugins, WPForms stands out by seamlessly integrating with Stripe and other major payment gateways. With WPForms, you can effortlessly create Stripe forms regardless of the plugin version you’re using. Even in the free version, it enables you to collect credit card payments. Here’s how to get started using the WPForms plugin:
Step 1: Installation
To begin, go to your WordPress dashboard and install the WPForms plugin. Once installed, access WPForms and go to the Add-ons section. From there, locate and install the Stripe Addon for WPForms. If you haven’t upgraded to the Pro version yet, you’ll find an ‘Upgrade Now’ button next to the Stripe Addon.
To activate the Pro version of WPForms, follow these simple steps:
1. Open WPForms and go to Settings.
2. Upgrade to the Pro version if you haven’t already.
3. Once upgraded, input your obtained license key into the designated field.
4. Click on Connect.
5. After a successful activation, you will see a new Payment tab
Step 2: Set Up The Stripe Account
Go back to the “Add-ons” sections and find the option for ‘Stripe Add-on’. Click on the button that says ‘Install Addon’ to activate the Stripe feature. After that you will need to enter the required information in the ‘Stripe Settings. Get the API and the publisher key, from your Stripe accounts page.
Fill in the necessary fields and once you have set up Stripe you can now move forward with creating your form.
Step 3: Create The Form
To get started go to the plugin’s dashboard and click on ‘Add New’. From there you’ll have a selection of made templates to choose from. You can begin with a blank form.
Once you’ve decided which fields should be included in your contact form, select ‘Stripe’, under the Payment Fields option. Don’t forget to check the box to enable the Stripe payments. After you’ve finished creating your form simply click on ‘Save’ to complete the process.
Step 4: Publishing
To finalize the process, you’ll need to add the form onto a specific page on your WordPress site. Begin by creating a new page and adding the ‘WPForms’ widget. From the available options, select the form you’ve created. Once you’ve completed the page, simply hit the publish button. And, you’ve successfully set up Stripe using WPForms.
Integrating WordPress And Stripe Using EDD
With Easy Digital Downloads plugin, your customers can conveniently pay using a Bank Card, Credit Card, Apple Pay, or Google Pay. This comprehensive range of payment options optimizes the conversation rate of your store by providing users with the methods they can readily utilize.
Step 1: Installation
To start integrating Easy Digital Downloads, download the software from your dashboard. This will save a file on your computer. Next, navigate to the Plugins tab, select Add New, choose Upload Plugin, and upload the file you downloaded. Click on the ‘Install Now’ button and then activate the plugin.
To connect and install the plugin, simply copy the license key from your EDD account and paste it into the settings on your dashboard.
Step 2: Activating Stripe
Within EDD, access Settings, and then proceed to the Payment Gateways section. Enable Stripe by checking the corresponding box in the Gateway settings. Set Stripe as the default gateway and select the credit card icons to display on checkout. Save your changes to finalize this step.
Step 3: Setting Up
To begin, go to the Payment Gateways tab and open the Stripe settings. From there, you will need to input your Stripe API keys. These can be obtained from your Stripe account dashboard. Once you have done that, you can proceed to configure Webhooks by following these steps:
- Access the Stripe Webhooks management page via the provided link.
- Find and select add endpoint option.
- Click the option to go live.
- Then click on “Create Endpoint” option to confirm.
To enhance the payment experience, you can customize additional settings like enabling “Stripe Checkout” for a smoother payment process. Once you’ve made these changes, your checkout pages will be fully equipped to securely process credit card payments via Stripe.
Conclusion
By combining the robust capabilities of Stripe with your WordPress website, you can effortlessly handle various transaction types. This integration empowers you to seamlessly accept purchases for your online store. We trust that this article has equipped you with the necessary knowledge to smoothly integrate Stripe into your WordPress website using a range of plugin options.