
As a key component of the TETRA range, the Ingenico Desk 1700 Pin Pad is specifically made to complement the AXIUM DX4000 fixed TPE. Part of the Desk series range, this fixed payment terminal is dedicated to elevating the customer experience in convenience stores.
The Desk 1700, known for its intuitive design and versatility, expedites payment processes and streamlines transaction management, seamlessly integrating with the AXIUM DX4000. Key features of the Desk 1700 include providing customers with autonomy and security at the checkout, accelerating payments when paired with the AXIUM DX4000 Desktop, managing customer interfaces for all payment types at the latest standards, and effortlessly fitting into any counter space, thanks to its compact and nimble design.
Features Of Ingenico Desk 1700
Desk 1700 comes with loads of features, here’s a look at all of them:
- Versatile Payment Acceptance: This device is optimized to accept all payment methods, ensuring flexibility and convenience for both merchants and customers. Whether it’s cards, contactless, or other forms, you can handle it effortlessly.
- User-Friendly Contactless Reader: The contactless reader is designed for easy identification, and streamlining the payment process. Customers can make payments swiftly and securely, enhancing the overall transaction experience.
- Spacious Keypad for PIN Entry: Featuring a large keypad, the device ensures a seamless PIN entry process. Customers can input their PIN with ease, promoting efficiency and accuracy during transactions.
- Effortless Connectivity to AXIUM DX4000 Desktop: Thanks to a single connector, this device seamlessly connects to the AXIUM DX4000 Desktop. This simplicity in connectivity enhances efficiency, making it a practical choice for businesses.
- Robust and Reliable Design: The device is engineered for robustness and reliability. Its compact design allows it to easily fit on any counter, making it a practical and space-saving addition to your payment setup.
- Crystal-Clear Display: The 2.8’’ display with a glass lens and QVGA resolution ensures a clear and visually appealing interface. This enhances user experience, providing a crisp view of payment details and transaction prompts.
- High-Performance Card Handling: Equipped with a magnetic card reader, smart card capabilities, and contactless technology, the device caters to various payment methods, offering a comprehensive solution for your business needs.
- Top-notch Security Features: With PCI PTS v6 certification and the option for a PCI-compliant privacy shield, the device prioritizes security. This commitment to data protection provides peace of mind for both merchants and customers.
- Supported by Ingenico’s Service Suite: Benefit from a suite of service offerings provided by Ingenico. From fleet management to security solutions, Ingenico stands behind the device, ensuring ongoing support and reliability.
- Comprehensive Hardware and Professional Services: Ingenico offers a range of hardware services and professional support, further enhancing the overall functionality and longevity of the device. This comprehensive approach ensures a smooth and reliable payment experience for your business.
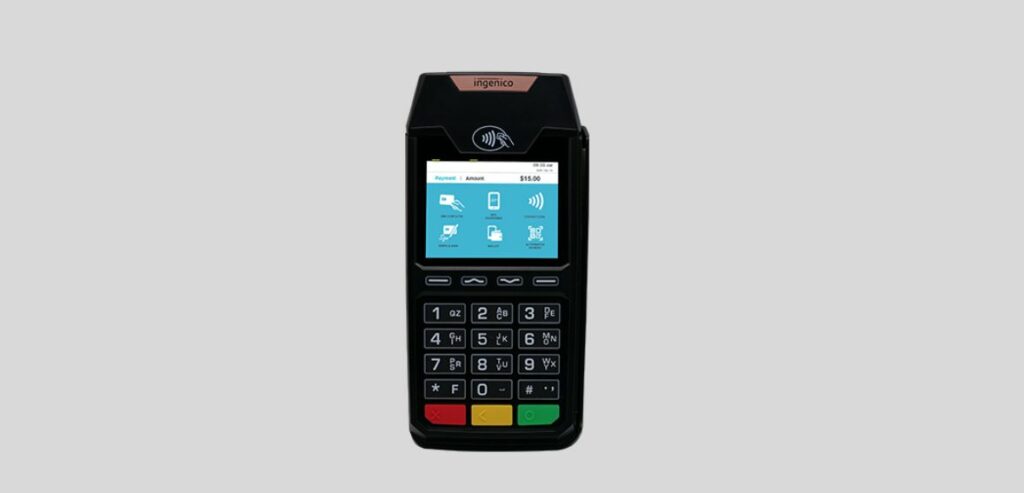
How Do You Run A Sale On An Ingenico Desk 1700?
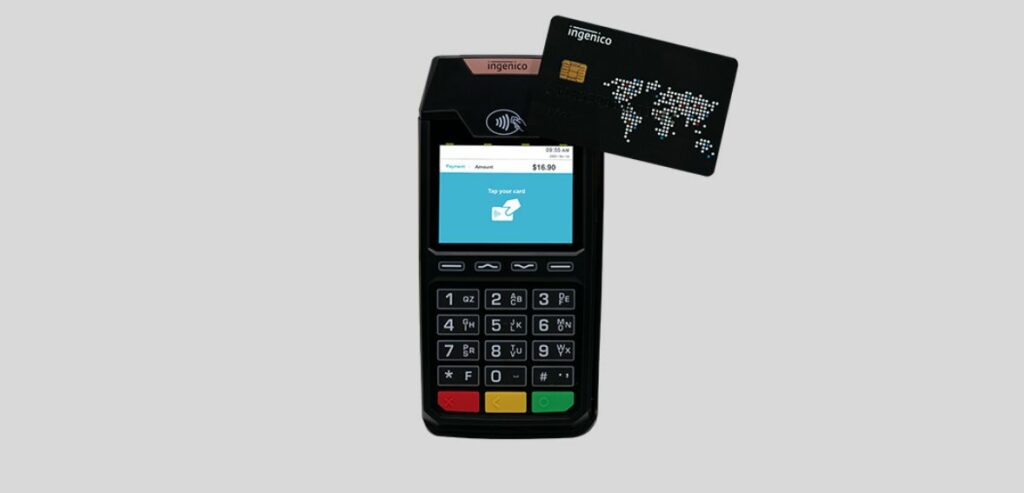
Image source
Doing a successful sale with the Ingenico Desk 1700 is a straightforward process. Follow these detailed steps for a smooth and efficient transaction:
- Step 1: Initiating the Sale
Begin by entering the sale amount when prompted by the terminal. Navigate through the interface with ease, utilizing the user-friendly controls.
- Step 2: Confirmation with the Green OK Key
Once the sale amount is entered, press the green OK key to confirm and proceed with the transaction. This step acts as a verification to initiate the payment process.
- Step 3: Handover to the Customer
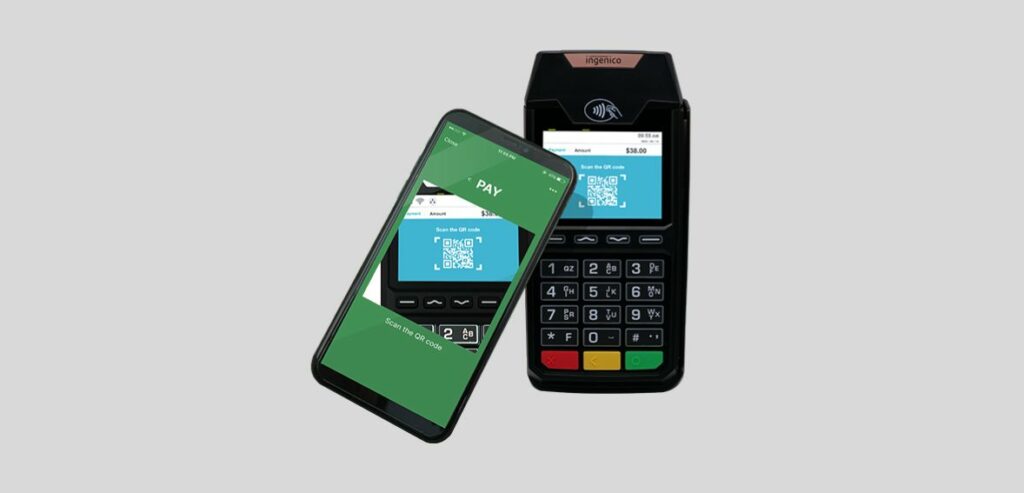
Hand over the terminal to your customers, providing them with the option to insert their card into the chip reader. Alternatively, inform them of the convenience of contactless payment options, such as tapping their card, or using a smartphone, or a SmartWatch.
- Step 4: Card Interaction and PIN Entry
If the customer opts for chip insertion, guide them through the process of entering their PIN. For contactless transactions, ensure they follow the prompts on the terminal.
- Step 5: Transaction Connection
After PIN entry or contactless interaction, the terminal will seamlessly connect to finalize the transaction. This step ensures the secure processing of payment.
- Step 6: Post-Transaction Options
Once the transaction is complete, you’ll be presented with post-transaction options. One of these options includes the ability to print a customer copy receipt. Simply press the designated button to generate and provide a receipt for the customer.
How Do You Run A Void Transaction On An Ingenico Desk 1700?
Occasionally, errors may occur during the sale process but fear not. The Ingenico Desk 1700 is equipped with a user-friendly Void function, allowing you to rectify mistakes seamlessly. Follow these detailed steps to initiate the Void function effectively:
- Step 1: Recognition of Mistake
Acknowledge any errors made in processing the sale amount. Whether it’s a numerical mistake or an incorrect transaction, the Void function will help you rectify the situation.
- Step 2: Timely Intervention
It’s crucial to address the mistake promptly. Ensure that you initiate the void process before closing the batch on the same day to maintain accuracy in your records.
- Step 3: Accessing the Void Function
Press the designated key for the Void function on the terminal. The interface will guide you through the next steps to cancel the transaction.
- Step 4: Merchant Password Entry
Enter your unique merchant password when prompted by the terminal. This security measure ensures that only authorized personnel can perform void transactions.
- Step 5: Transaction Retrieval
The terminal will prompt you to retrieve the last transaction for voiding. Confirm your intention to void the transaction by following the on-screen instructions.
- Step 6: Record Number Entry (if applicable)
If necessary, enter the record number from the original receipt to provide additional details for the void transaction.
- Step 7: Communication with the Host
The terminal will establish communication with the host system to process the void transaction. This ensures that the transaction cancellation is accurately recorded.
- Step 8: Confirmation of Void Transaction
Upon successful void processing, the terminal will display an approved message. Additionally, a receipt will be printed to confirm the voided transaction.
How Do You Run A Transaction Refund On An Ingenico Desk 1700?
When circumstances arise where a transaction cannot be voided due to batch settlement or the passage of the same day, the Ingenico Desk 1700 offers a straightforward refund process. Follow these detailed steps to handle refunds efficiently:
- Step 1: Identifying the Need for Refund
Recognize situations where a transaction cannot be voided, such as batch settlement or the expiration of the same day. In such cases, initiating a refund is the appropriate course of action.
- Step 2: Accessing the Refund Option
Press the designated key for refunds on the terminal. This key is typically labeled with the number 3. The terminal interface will guide you to the next steps in the refund process.
- Step 3: Admin Password Entry
Enter your admin password when prompted by the terminal. This ensures that only authorized personnel can initiate the refund process, maintaining the security of the transaction.
- Step 4: Original Sale Invoice Number
Input the invoice number associated with the original sale that requires a refund. This unique identifier ensures accuracy in processing the refund for the specific transaction.
- Step 5: Refund Amount Entry
Specify the refund amount accurately. This step requires entering the precise amount to be refunded, ensuring transparency and precision in financial transactions.
- Step 6: Card Insertion Prompt
The terminal will prompt you to insert the card associated with the refund. Follow the on-screen instructions to complete this step.
- Step 7: Refund Completion
Once the refund process is successfully executed, the terminal will automatically print a merchant receipt. This serves as a confirmation of the completed refund transaction.
How Do You Run A Batch Settlement On An Ingenico Desk 1700?
Managing your financial transactions efficiently requires a systematic approach to batch settlement. Follow these detailed steps to ensure the timely deposit of funds into your bank account using the Ingenico Desk 1700:
- Step 1: Initiate Batch Settlement
At the end of each business day, initiate the batch settlement process by pressing the designated key on the terminal. This key is typically labeled with the number 7, indicating the batch settlement option.
- Step 2: Enter Admin Password
Safeguard the security of the settlement process by entering your admin password when prompted by the terminal. This authentication ensures that only authorized personnel can perform batch settlement actions.
- Step 3: Select Transaction Type
Choose the transaction type for settlement by entering one of the following options:
- Press 1 for credit card transactions
- Press 2 for debit transactions
- Press 3 for both credit card and debit transactions
- Step 4: Confirm Transaction Details
Confirm the accuracy of transaction details at each step of the process. Press the OK button to confirm:
- Sale total
- Refund total
- Net total
- Step 5: Prompt to Settle Batch
After confirming transaction details, the terminal will prompt you to settle the batch. Proceed by pressing the appropriate key to confirm batch settlement.
- Step 6: Summary Report Option
After successfully settling the batch, you can generate a summary report for your records. This report provides a comprehensive overview of the settled transactions and is valuable for record-keeping.
Conclusion
The Ingenico Desk 1700 Pin Pad stands out as an integral part of the TETRA range, specifically designed to enhance the customer experience in convenience stores when paired with the AXIUM DX4000 Desktop. It’s intuitive design and versatile features, such as versatile payment acceptance, a user-friendly contactless reader, and a spacious keypad, expedite transactions and ensure a seamless process.
The device’s robust and reliable design, coupled with top-notch security features and ongoing support from Ingenico, makes it a trustworthy choice for businesses. Whether running a sale, voiding a transaction, processing a refund, or settling batches, the Ingenico Desk 1700 simplifies these processes, contributing to a smooth and reliable payment experience for merchants and customers alike.